Tips for Using Grafix Shrink Film

GRAFIX SHRINK FILM GENERAL INSTRUCTIONS
READ ALL INSTRUCTIONS and TIPS BEFORE BEGINNING!
- Draw or trace a design on the film. Decorate with permanent inks, markers and rubberstamps. If ink jet version was purchased, this film is printable on both sides.
- Cut out the design. Use with regular/decorative scissors or die cutting systems. If needed, punch holes with a paper punch prior to baking.
- Pre-heat oven between 300°-350°F (approx. 150° – 180°C/Gas Mark 2). Test with a scrap piece to determine best baking temperature and time.
- Place design on cookie sheet lined with medium weight cardboard, teflon sheet, parchment paper or vellum. Do not bake on bare metal or any stoneware. Use gloves if handling before cooled, designs will be extremely hot.
- Heat for approximately 2-3 minutes until flat or shrinking has stopped. Bake in conventional or toaster ovens or use with an embossing tool. Not for use in microwave ovens.
ADDITIONAL INKJET INSTRUCTIONS
- Inkjet Shrink Film can be ink jet printed or stamped with rubber stamps.
- Set your printer to normal output but change the colour intensity to a little over minimum (colours intensify when shrinking).
- After printing give the sheet a few seconds to dry before handling
- Cut out the design/photograph with regular or decorative scissors, craft knife or die cut system before baking.
- Punch any holes or make any adjustments required before baking.
DESIGN TIPS
- Size your design 50% larger than desired finished piece. Film will shrink to approximately 1/2 of the original size and will become thicker and harder.
- If not using Super Sanded Shrink Film, sand surface with 300-400 grit sandpaper for use with colored pencils.
- Colours will intensify/darken when heated.
- Protect designs handled often with an acrylic sealer after baking.
BAKING TIPS

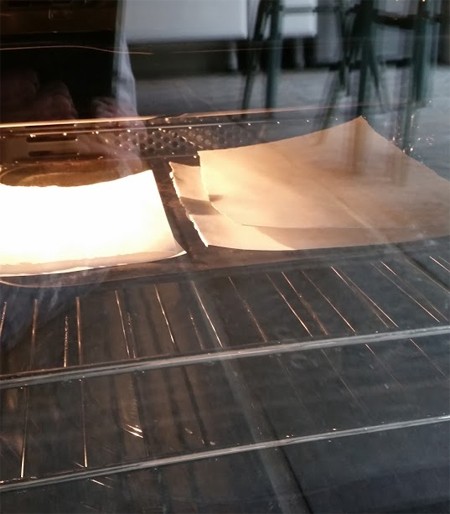
- The Grafix Film between two sheets of parchment
- Cover design with parchment paper or vellum to minimize curling and sticking while baking. If curling or sticking occurs, remove from oven, flatten with a spatula or pull apart with utensils or tweezers when slightly cooled and then reheat to complete the shrinking process.
- When removed from the oven, the film is still pliable and can be flattened or shaped.
- To heat evenly, turn the piece over. Use caution when handling before cooled. The designs will be HOT.
- For larger or longer designs, heat at a lower temperature to slow the shrinking process and reduce distortion. The film will not shrink perfectly proportionate. Please allow for some distortion.
ADDITIONAL TIPS
- For particularly stubborn shapes, start by using a HEAVY-weight cookie sheet, layer it with parchment paper, add the shrink film, another layer of parchment paper and then a LIGHTweight cookie sheet. (An aluminum brownie pan works great on top because it doesn’t weigh much, but does the job of holding the film in place while it shrinks.)
- Try lowering the oven temperature and lengthening the baking time. It’s best to test with a scrap piece to know the best oven temperature and time.
- Bake 2-3 pieces at a time
- Consider using a heat gun which gives more control over the heating process. Hold the film with a stylus or tweezers and control the shrinking by moving the tool away and closer.
- The bigger, more intricate the design is to start, the more likely curling can occur. Rolling a drinking glass over Shrink Film is a great way to flatten it after baking.
IMPORTANT!
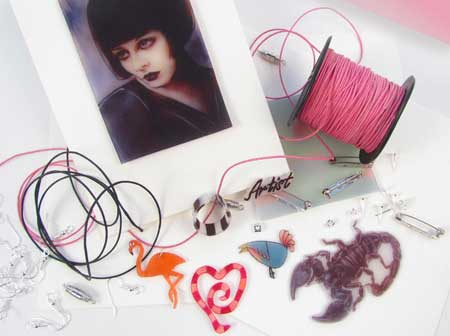
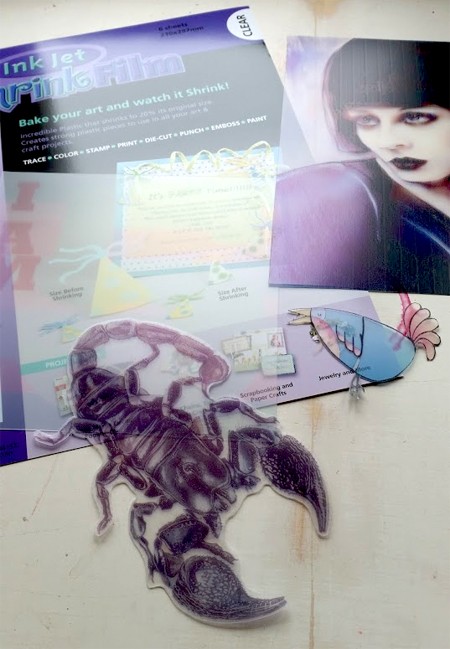
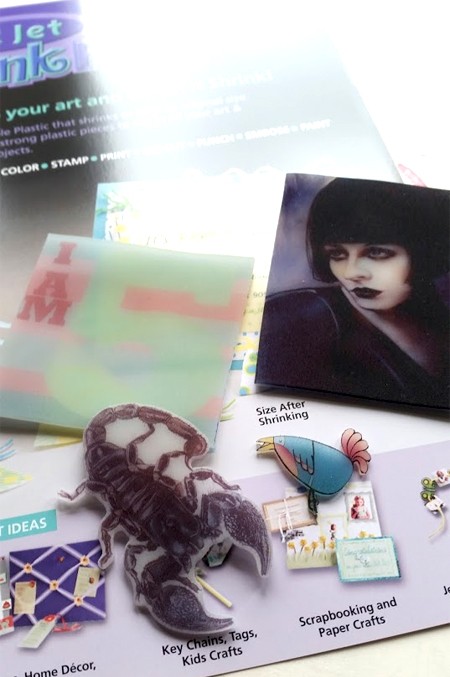
Children require adult supervision when baking. Shrink Film is non-toxic. Grafix sheets prior to baking Before… Grafix sheets after baking and after!

Before

After.
