How to make an Egg Cup into an Easter Bunny

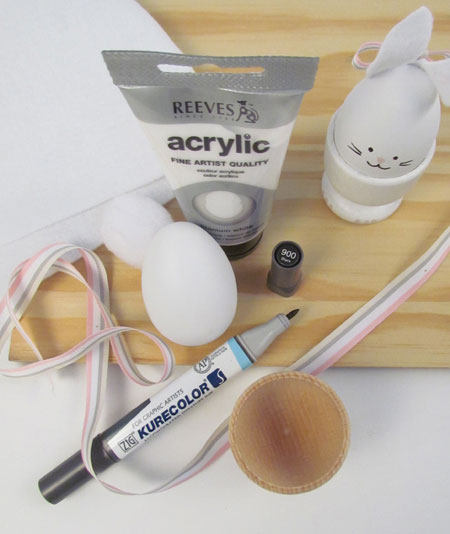
For a great Easter Decoration, use a plain egg cup and a Plastic Egg to create a little Easter Bunny figure. As well as the egg cup and egg, you will need white and pink Acrylic Paint, felt, a pom pom, a marker pen like the Kurecolor Twin S Markers and some Ribbon.

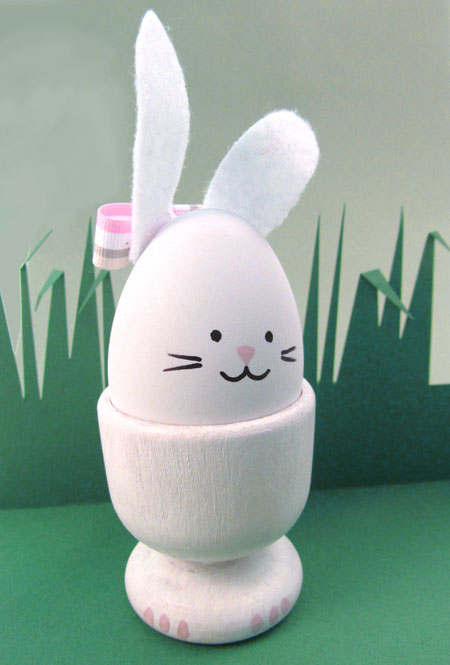
You can choose whichever colour you like for your Bunny but you will need to match in your egg, felt and pom poms so, for ease and simplicity. In this case I have kept the egg white and painted the egg cup white to match and six little spots of pink on the base representing the paws. With the egg in the egg cup, so that you can gauge how low the egg sits in it, mark two dots with the marker pen for the eyes. Take the egg out and carefully draw on the other features with the marker and another little triangular spot of pink Acrylic for the nose. Top tip – Hold the egg secure on your work surface with some White Tack to reduce hand shake.

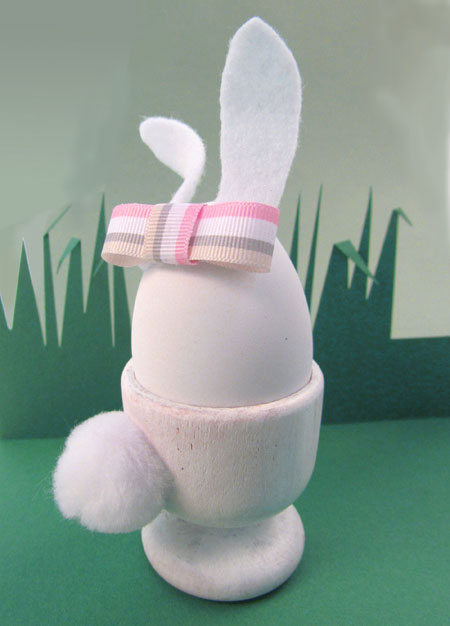
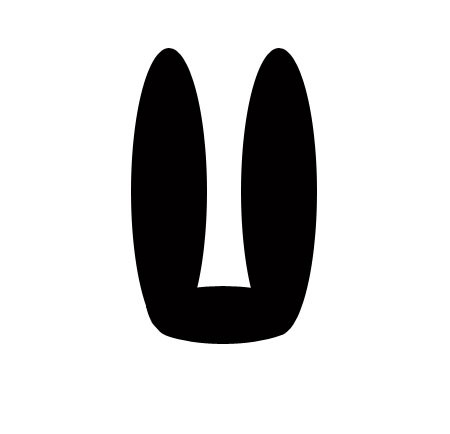
Cut a suitably sized piece of felt into the shape below and glue to the back of the egg. Neaten this up by covering with a bow. I have used just 2 different sized lengths of ribbon to make my own. Loop and glue the longer piece into a flattened circle. Take a shorter piece – just a little longer than twice the width of the ribbon – and loop this around the middle of the flattened circular piece and glue in place. Glue a pom pom to the back of the egg cup to finish.

